Hi Everyone!
I'm back to share two more cards I made for the Scrapbook.com card sketch challenge.
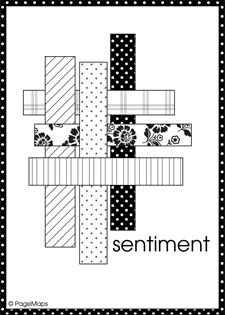
Here is Sketch #3.
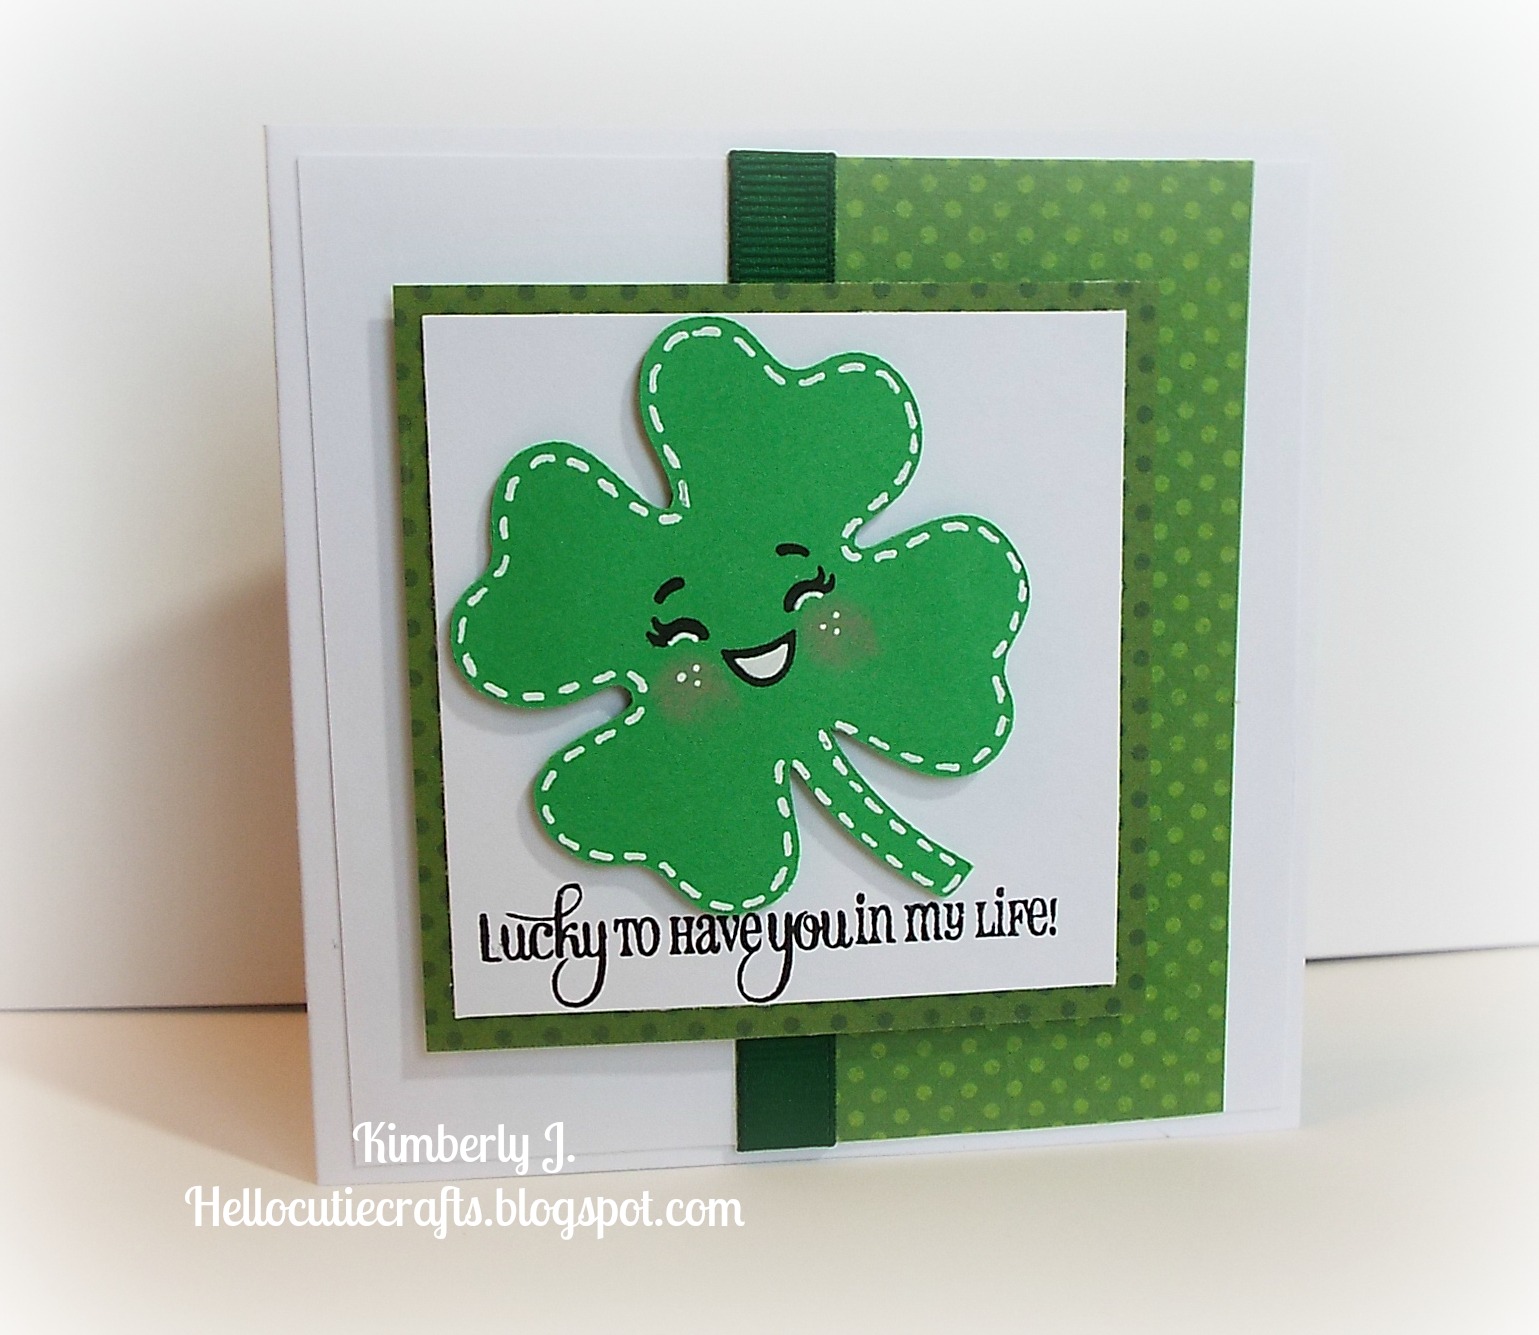
Here is my card.
I dusted off my cricut for this cute shamrock and of course, I had to add a cute Peachy face to it!
I used my favorite PK set- Kawaii face assortment (No longer available). The sentiment is This & That from My Creative Time stamps, stamped in black Versafine ink and heat embossed in clear powder. I used the Double dots Bold and Brights 6x6 paper in two shades of green. I added a stripe of green ribbon to the card panel. Then I added some white faux stitching to the shamrock and accents to the face and used some Pink chalk on the cheeks. The card size is 4.25 x 4.25.
Products used:
Designer Calendar cartridge- Shamrock (Cricut)
Kawaii Face asst. (PKS)
This and That stamp set (My Creative Time)
Onyx Black ink (Versafine)
Clear embossing powder (Zing!)
Double Dots Bold and Brights 6x6 (BoBunny)
Ribbon (Michaels)
Green card stock (Recollections)
Stampin Pastels (SU)
Here is card sketch #5.
Here is my card.
For this card, I used one of the new March digital images from 2 Cute Ink digital stamps called Easter Friends. I colored the image with copic markers and die cut the image with circle dies. Then I cut a scalloped circle with the Birthday Bash cartridge on my Cricut using the Springtime 6x6 paper pad from Doodlebug designs. Next I heated embossed the sentiment using white ink and embossing powder, the sentiment is from My Kind of Peep stamp set from Simon Says Stamp March 2016 card kit. The background is embossed with swiss dots embossing folder. I added some white gel pen accents and white ruffled ribbon.
Products Used:
Easter Friends (2CuteInk)
Copic markers
Birthday Bash cartridge (Cricut)
My Kind of Peep stamp set (SSS March card Kit)
White embossing powder (SU)
Unicorn ink (Hero Arts)
White gel pen (Sakura and Uniball)
Springtime 6x6 paper (Doodlebug)
Swiss Dots embossing folder (Cuttlebug)
Double dots-Green paper (BoBunny)
Wink of stella clear glitter brush pen
Thank You so much for stopping by!!
Have wonderful day!